There’s something magical about a treat that doesn’t require an oven.
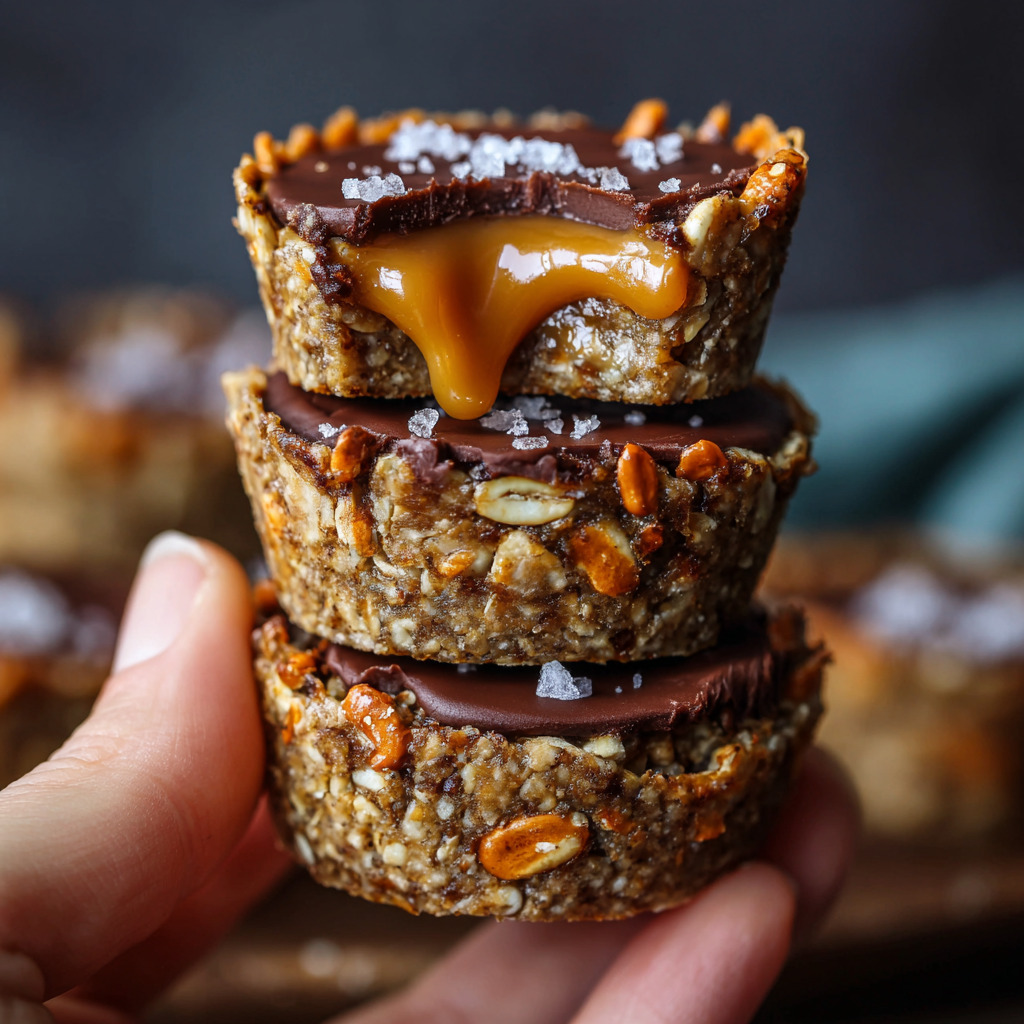
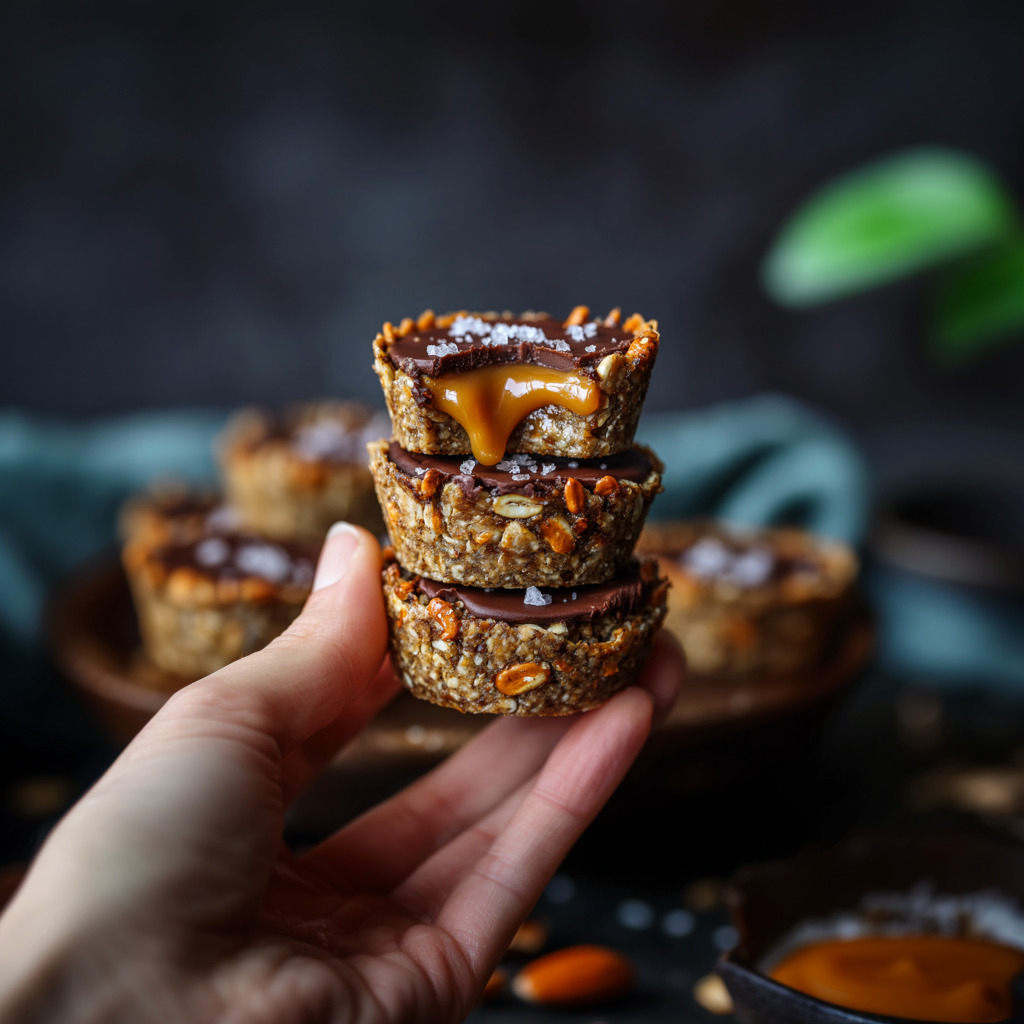
These No-Bake Chocolate Caramel Cups are everything I crave in one bite: chewy dates, crunchy pretzels, nutty pecans, rich caramel, and velvety melted chocolate.
They’re quick to assemble, incredibly satisfying, and perfect for keeping in the fridge or freezer whenever a craving hits.
Why I Love This Recipe
No oven needed – Just mix, press, and chill. So easy!
Sweet and salty perfection – The contrast between caramel and sea salt is divine.
Naturally chewy crust – Dates and oats create the ideal no-bake base.
Customizable – Use homemade or store-bought caramel and chocolate.
Freezer-friendly – Keep them ready for whenever you need a treat.
What You’ll Need (Ingredient Highlights)
Rolled oats & pecans – The hearty, nutty base of the crust.
Pretzels – Add salty crunch to balance the sweetness.
Medjool dates – Provide natural sweetness and structure.
Coconut oil – Helps everything come together and firm up when chilled.
Caramel sauce – Use thick homemade caramel or melted caramel candies.
Chocolate chips – Melted to create a rich, glossy topping.
Sea salt (optional) – For that final savory-sweet touch on top.
Pro Tips Before You Start
Chill the crust mixture – It firms up and becomes easier to shape.
Use thick caramel – Thin caramel may run or not set properly.
Don’t over-process – Pulse until combined, but keep some texture.
Gently press into muffin tins – Create a well for the caramel.
Top with flaky salt – Adds both flavor and visual flair.
How to Make No-Bake Chocolate Caramel Cups
Step 1: Make the Crust
In a food processor, pulse oats, pecans, and pretzels until broken into small bits.
Add dates, melted coconut oil, and sea salt.
Pulse again until the mixture forms a soft, sticky dough.
Step 2: Chill the Dough
Transfer the dough to the fridge for 15–20 minutes.
This helps it firm up and makes it easier to press into tins.
Step 3: Prepare Caramel and Chocolate
While the crust chills, melt your caramel until smooth and thick.
Separately, melt the chocolate chips until glossy and pourable.
Step 4: Shape the Cups
Press about 1–2 tablespoons of the chilled crust mixture into the wells of a muffin tin, using your fingers to create a small indentation in the center of each.
Step 5: Fill and Top
Spoon a tablespoon (or two!) of caramel into each cup.
Then pour melted chocolate over the top to cover the caramel layer.
Sprinkle with sea salt if desired.
Step 6: Chill to Set
Place the muffin tin in the fridge or freezer and chill until the cups are fully set and firm.
Step 7: Serve and Enjoy
Gently remove each cup from the tin.
If frozen, let sit at room temp for a few minutes before serving.
Enjoy the sweet, salty, gooey bite!
What to Serve It With
Espresso or cold brew – The bitterness pairs beautifully.
Vanilla ice cream – A perfect contrast in temperature and texture.
Fresh berries – Add a tart pop of color.
Chai or spiced tea – Complements the caramel and chocolate notes.
After-school snack plate – Kids and adults alike will love them!
Variations / Substitutions
Nut swap – Use walnuts or almonds instead of pecans.
Different crusts – Try adding shredded coconut or graham crackers.
Nut-free version – Use sunflower seeds or skip the nuts entirely.
Vegan chocolate – Use dairy-free chips if needed.
Extra flavor – Add a pinch of cinnamon or espresso powder to the crust.
Storage & Leftovers
Fridge – Store in an airtight container for up to 1 week.
Freezer – Keep frozen for up to 2 months. Let sit a few minutes before eating.
Room temperature – Not ideal, as they may soften too much.
Batch prep – Make a double batch and freeze for grab-and-go treats.
FAQs
Can I use store-bought caramel?
Absolutely! Just melt it down into a thick, pourable sauce.
Can I use a mini muffin tin?
Yes! It makes adorable bite-sized versions. Just use less filling.
What kind of chocolate works best?
Semi-sweet or dark chocolate chips melt smoothly and balance the caramel’s sweetness.
Can I use peanut butter instead of caramel?
Definitely! It makes a fun salty-sweet variation.
Do I need to grease the muffin tin?
Not usually, but you can use liners or a light spray if you’re worried.
Can I skip the sea salt on top?
Sure, but it adds a lovely contrast. Totally optional.
Are these gluten-free?
If you use gluten-free pretzels and oats, then yes!
Final Thoughts
These No-Bake Chocolate Caramel Cups are everything I love in one small bite—chewy, crunchy, creamy, and sweet with a pop of sea salt.
They’re so easy to make, yet feel indulgent enough for a special occasion.
I always keep a few in the freezer for a quick treat or a last-minute dessert.
You’ll make them once and crave them forever.

No-Bake Chocolate Caramel Cups
Ingredients
- 1 ½ cups Quaker Rolled Oats
- 1 ½ cups pecan halves
- ½ cup pretzels
- 8 whole medjool dates pitted
- ⅔ cup coconut oil melted
- A pinch of coarse sea salt
- 1 cup thick caramel homemade or melted store-bought caramel candies
- 2 cups chocolate chips melted
- Sea salt optional, for topping
Instructions
- Pulse oats, pecans, and pretzels in a food processor until finely chopped.
- Add dates, coconut oil, and salt; pulse until a sticky dough forms. Chill for 15–20 minutes.
- While chilling, melt caramel and chocolate separately.
- Press dough into a muffin tin, creating a well in each cup.
- Fill each with caramel, then top with melted chocolate.
- Sprinkle with sea salt if desired.
- See full steps with tips & photos → https://wimpysdiner.net/no-bake-chocolate-caramel-cups/
Notes
- Use soft, sticky medjool dates—if dry, soak them in warm water for 10 minutes first.
- For a shortcut, use store-bought caramel candies melted with a splash of milk.
- These cups keep well frozen and are great for meal prep or party treats.