
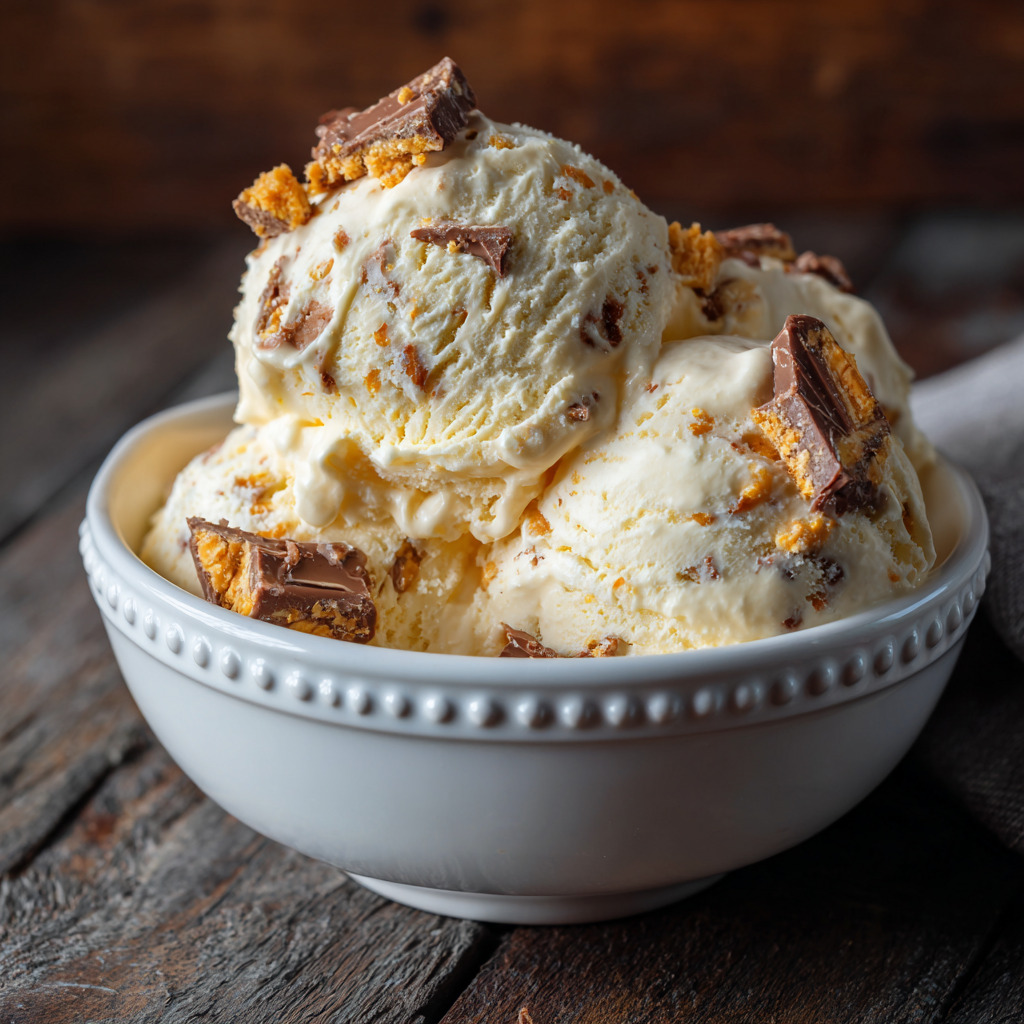
I still remember the first time I made Butterfinger Ice Cream at home—it was like unlocking a secret level of summer happiness.
There’s something incredibly nostalgic about the creamy vanilla base packed with crunchy, peanut-buttery Butterfinger chunks.
It’s comfort, fun, and indulgence in every spoonful.
Why You’ll Love This Recipe
No stovetop needed—just whisk and churn
Packed with real Butterfinger candy in every bite
Ultra-creamy texture thanks to a pudding mix and four types of milk
Crowd favorite at parties or after-dinner desserts
Can be made ahead and frozen
What You’ll Need (Ingredient Highlights)
Heavy cream – Adds rich, creamy texture
Evaporated & sweetened condensed milk – Give a silky mouthfeel and natural sweetness
Vanilla instant pudding – Thickens the base and keeps the texture smooth
Vanilla extract – Boosts that classic ice cream flavor
Butterfinger bars – Crushed for candy crunch in every bite
Pro Tips Before You Start
Chill your mixture thoroughly before churning—it helps the ice cream set faster
Don’t skip the instant pudding; it improves both consistency and flavor
Crush the Butterfingers finely or leave small chunks, depending on your texture preference
For best results, use a quality ice cream maker and follow its exact instructions
Freeze for a few hours after churning to make it scoopable like store-bought
How to Make Butterfinger Ice Cream
Step 1: Make the Ice Cream Base
In a large mixing bowl, whisk together the heavy cream, evaporated milk, sweetened condensed milk, whole milk, vanilla pudding mix, sugar, and vanilla extract until smooth and fully combined.
Step 2: Chill the Mixture
Cover the bowl and refrigerate the base for 2–3 hours, or until it’s completely cold.
This step is key for the best churning results.
Step 3: Churn the Ice Cream
Pour the chilled mixture into your ice cream maker.
Churn according to the manufacturer’s directions, usually 20–30 minutes.
Step 4: Add the Butterfinger Chunks
In the last 5 minutes of churning, sprinkle in the crushed Butterfinger bars so they evenly mix into the ice cream.
Step 5: Serve or Freeze
Enjoy immediately for a soft-serve texture, or transfer to an airtight container and freeze for at least 2 hours for a firmer scoop.
What to Serve It With
Warm brownies or chocolate cake
Topped with whipped cream and chocolate syrup
In waffle cones or homemade cookie bowls
Alongside peanut butter cookies
Layered into an ice cream cake or sandwich
Variations / Substitutions
Swap Butterfingers with Snickers, Reese’s, or Twix
Add a swirl of caramel or fudge for extra indulgence
Mix in crushed pretzels for a salty crunch
Use almond extract instead of vanilla for a nuttier flavor
Make it extra nutty with chopped roasted peanuts
Storage & Leftovers
Freeze in an airtight container for up to 2 weeks
Press parchment or plastic wrap onto the surface to prevent ice crystals
Let sit at room temp for 5–10 minutes before scooping
Avoid refreezing melted portions to maintain texture
FAQs
Can I make this ice cream without an ice cream maker?
Yes! Pour the chilled base into a shallow dish, freeze, and stir every 30–45 minutes until thick and creamy.
Do I have to chill the mixture before churning?
Absolutely. A well-chilled base yields smoother, faster-churning ice cream.
Can I use a different candy bar?
Definitely! This recipe works great with Reese’s, Snickers, or chopped peanut butter cups.
Why is there pudding mix in this ice cream?
It helps stabilize the mixture, adding body and a luscious, creamy finish.
How fine should I crush the Butterfingers?
It depends—go fine for even distribution, or chunkier for texture bursts.
Is this recipe gluten-free?
Butterfinger bars contain gluten, so double-check the labels or use a gluten-free substitute if needed.
Can I make this ahead for a party?
Yes! Make it 1–2 days in advance and store in the freezer until serving.

Final Thoughts
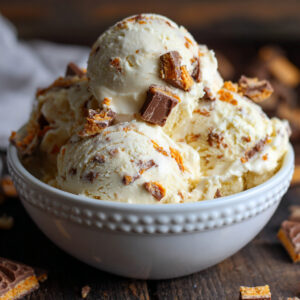
This Butterfinger Ice Cream is what childhood dreams are made of—sweet, creamy, crunchy, and a little nostalgic.
Whether you’re cooling down after a summer BBQ or simply treating yourself, it never disappoints.
Once you’ve tasted homemade ice cream like this, you’ll never look at store-bought the same again.
Butterfinger Ice Cream
Ingredients
- 1 pint heavy cream
- 1 12 oz can evaporated milk
- 1 14 oz can sweetened condensed milk
- 4 cups whole milk
- 1 3.4 oz box vanilla instant pudding
- 3/4 cup sugar
- 4 Tablespoons vanilla extract
- 5 1.9 oz Butterfinger Bars, crushed
Instructions
- In a large bowl, whisk together all ingredients except the Butterfingers.
- Cover and chill for 2–3 hours.
- Pour into an ice cream maker and churn as directed.
- In the final 5 minutes, add crushed Butterfingers.
- Serve immediately or freeze in an airtight container.
- See full steps with tips & photos → https://wimpysdiner.net/butterfinger-ice-cream/
Notes
- Crush the Butterfingers Well: Ensure that the Butterfinger bars are crushed into small, bite-sized pieces to ensure the crunch is evenly distributed in the ice cream.
- For a Smoother Texture: If you want a smoother texture without as many chunks of candy, crush the Butterfingers even smaller or add them after churning and mix gently.