")
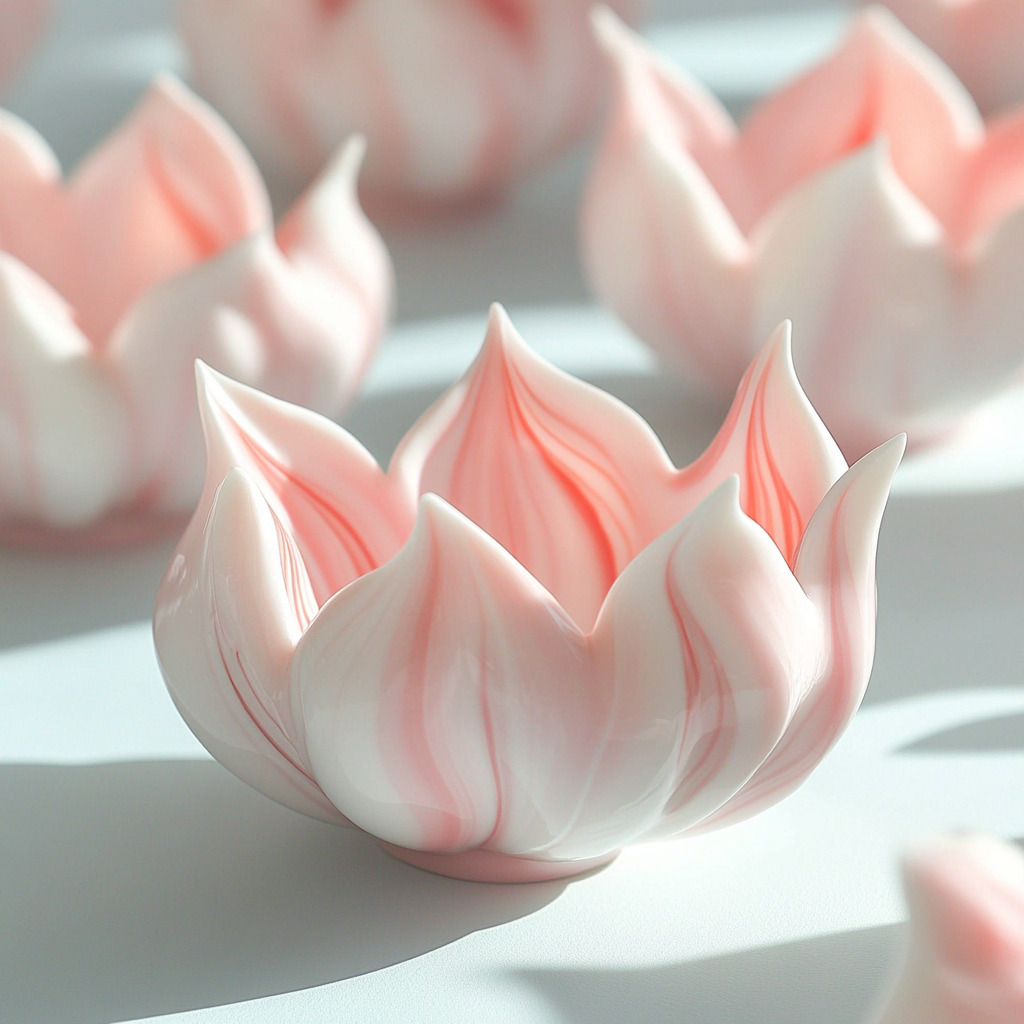
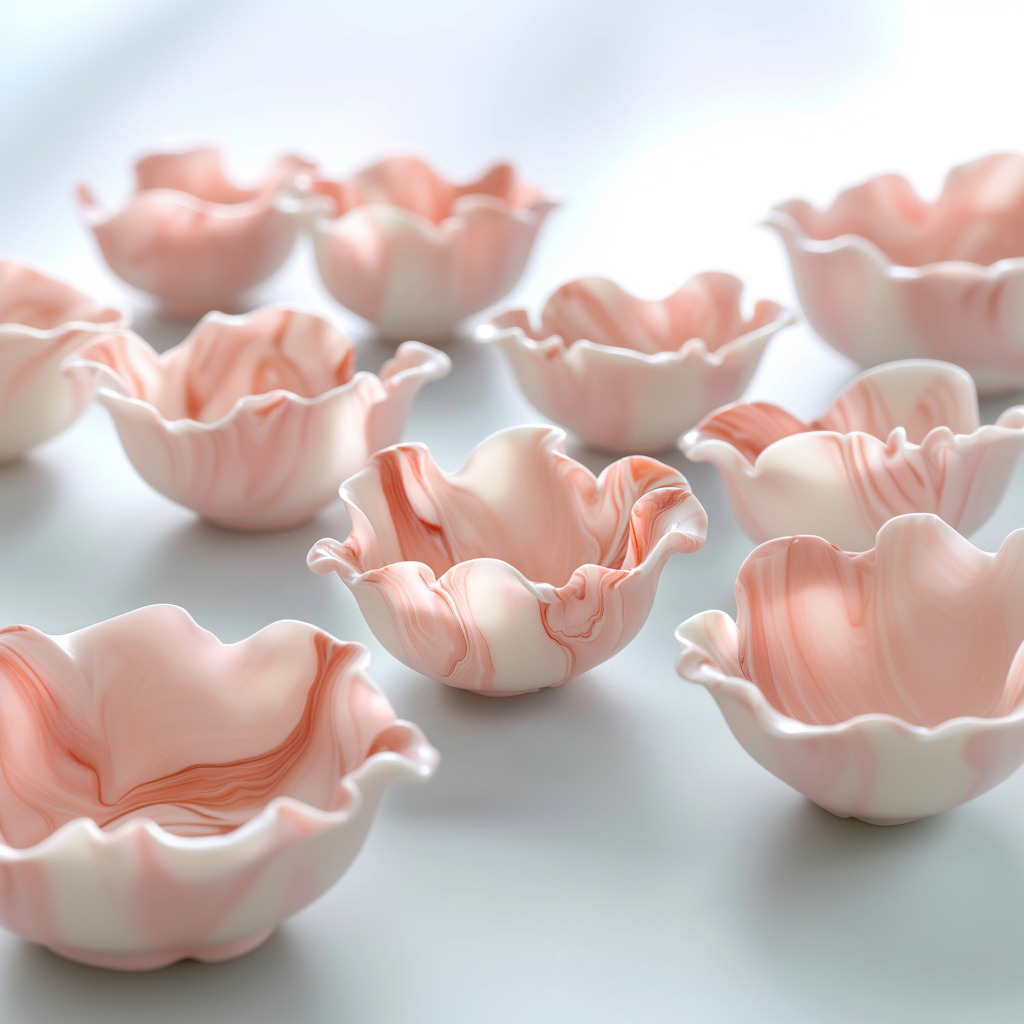
These white chocolate balloon bowls are a fun, whimsical way to serve desserts!
Swirled with pink candy coating and shaped using water balloons, they’re as impressive as they are easy to make.
Perfect for mousse, ice cream, or party treats!
Why You’ll Love This Recipe
A show-stopping dessert bowl made entirely of chocolate
No baking required—just melt, dip, and chill
Customizable colors for parties, holidays, or themed events
Fun to make with kids (just be careful with popping balloons!)
Great for filling with anything from whipped cream to candy
Ingredient Highlights
White candy coating melts – The base for the edible bowls. Smooth, easy to work with, and sweet!
Pink candy coating melts – Adds a beautiful swirl pattern for contrast and flair.
Water balloons – Small, round shape creates the perfect size for mini dessert bowls.
Pro Tips Before You Start
Cool the candy melts to room temperature before dipping—if they’re warm, the balloons will burst.
Use food-safe water balloons that are clean and smooth.
If your coating thickens, reheat in 5-second bursts until fluid again.
Tap the tray gently after placing dipped balloons to settle the base.
Use waxed or parchment paper for easy bowl removal.
How to Make White Chocolate Balloon Bowls
Step 1: Melt and Cool the Candy Coatings
Melt the white and pink candy coating melts in separate bowls.
Allow both to cool to room temperature while staying fluid.
This prevents balloons from popping when dipped.
Step 2: Prep the Tray and Bases
Line a baking sheet with parchment paper.
Drop 10 small 1-inch circles of melted white coating spaced apart.
Tap the tray lightly to flatten. These will be the base of each chocolate bowl.
Step 3: Blow Up the Balloons
Inflate 10 water balloons to a small round shape and tie them off.
Step 4: Dip in Swirled Chocolate
Drizzle a spoonful of pink coating over the surface of the white coating.
Holding the balloon by its knot, gently dip the side into the swirled chocolate—not fully submerged.
The chocolate should rise halfway up the side in a rounded pattern.
Pull the balloon out, rotate, and dip again slightly overlapping the previous dip to create a scalloped look.
Repeat 4–5 times around the balloon.
Step 5: Place on Chocolate Base
Allow excess coating to drip back into the bowl.
Gently place the dipped balloon onto a white chocolate base on the tray.
Step 6: Repeat & Chill
Repeat the swirl and dip process for all remaining balloons.
Reheat coatings if they become too thick to dip.
Once finished, refrigerate the tray until the bowls are fully set.
Step 7: Remove the Balloons
Gently press around each balloon to loosen it from the set chocolate.
Use a pin to pop the balloon, then carefully remove any bits that remain inside.
Step 8: Fill and Serve
Fill the chocolate bowls with ice cream, mousse, whipped cream, fresh fruit, or mini candies.
Enjoy immediately!
What to Serve It With
Scoops of your favorite ice cream or sorbet
Chocolate mousse or whipped cream and berries
Mini trifles or layered no-bake cheesecake
Colorful candy or marshmallow mix for parties
Edible flower petals or gold sprinkles for extra flair
Variations / Substitutions
Try milk or dark chocolate melts instead of white
Use colored candy melts to match party themes
Add sprinkles or edible glitter after dipping for a fun texture
Swirl in blue, purple, or red for seasonal versions
Fill with vegan coconut whipped cream for a dairy-free option
Storage & Leftovers
Fridge – Store unfilled chocolate bowls in an airtight container in the refrigerator for up to 1 week.
Avoid humidity – Moisture can cause the chocolate to sweat or bloom.
Do not freeze – Freezing may crack or discolor the candy coating.
Fill just before serving – To avoid softening or melting the chocolate, fill them right before you serve.
FAQs
Can I use regular balloons?
No, they’re usually too large and thick.
Use small water balloons for the right shape and flexibility.
How do I keep the balloons from popping?
Make sure the chocolate is completely cool to room temperature before dipping.
Can I reuse leftover melted candy coating?
Yes! Reheat and reuse for other decorations or drizzling.
Do I need to temper the candy coating?
Nope! Candy melts don’t require tempering, which makes this method foolproof.
How do I clean the balloons before using?
Rinse and dry them thoroughly with a paper towel to remove any residue.
Can I make these bowls in advance?
Absolutely! Just store them empty in a dry container and fill right before your event.
What can I use instead of candy melts?
You can use tempered real chocolate, but it’s trickier to work with and not beginner-friendly.
Final Thoughts
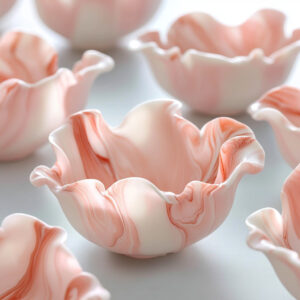
These white chocolate balloon bowls are pure dessert fun!
Swirled with pink and crafted by hand, they’ll impress guests of all ages and bring creativity to your dessert table.
Once you make them once, you’ll find new reasons to try them again and again!
Whimsical White Chocolate Balloon Bowls
Ingredients
- 12 oz white candy coating melts
- 4 oz pink candy coating melts
- 10 water balloons
Instructions
- Melt white and pink candy coatings in separate bowls.
- Let cool to room temperature.
- On parchment paper, create 10 small white circles as bases.
- Inflate and tie 10 water balloons.
- Drizzle pink into white coating.
- Dip balloon side into swirled chocolate, rotating 4–5 times to coat.
- Place dipped balloon onto white base.
- See full steps with tips & photos → https://wimpysdiner.net/white-chocolate-balloon-bowls/
Notes
- Be sure the melted chocolate is cool to the touch before dipping the balloons, or they may burst.
- Use gloves to avoid fingerprints on the set chocolate.
- Silicone baking mats can be used instead of parchment for easy release.
- You can swap pink candy coating with any other color for themed occasions!